
Nosferatu 1922 - Recreating The Look
TLDR: In this video and below, I talk about making 3 luts inspired by the original horror classic Nosferatu
Prerequisite Downloads?
Get the Luts: Nosferatu 1922
About the Look
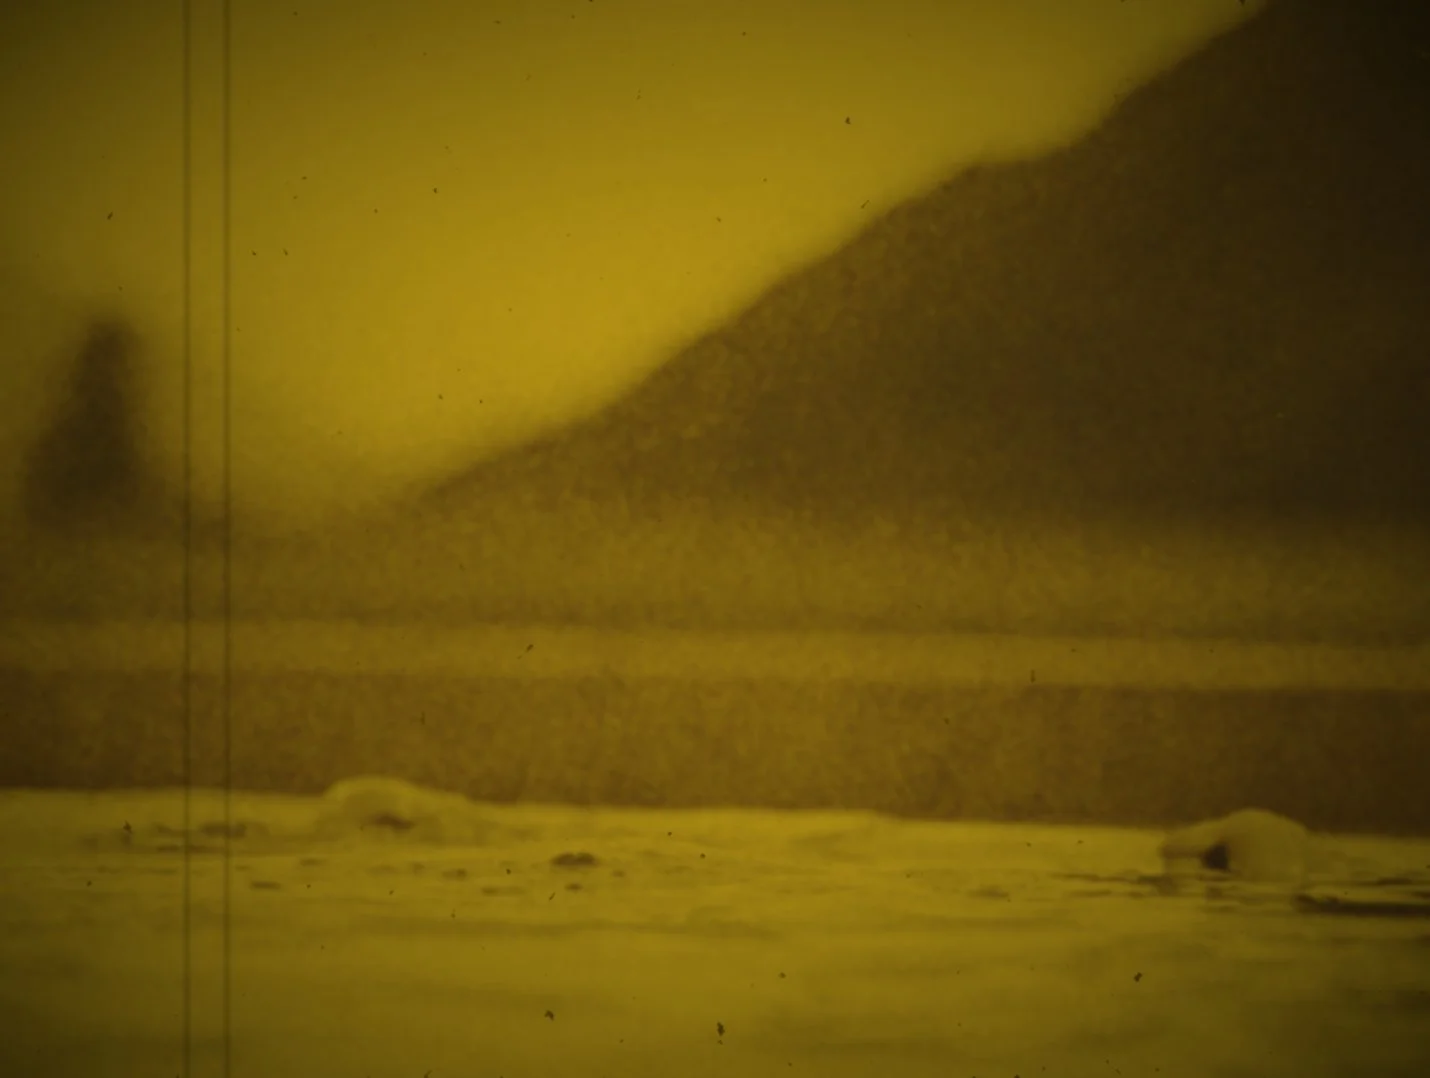
Nosferatu was a black-and-white film shot in 1922. They utilized a technique called tinting to create three distinct looks to help signify and sell the time of day they were trying to portray. Yellow was daylight, Pink was twilight, and Green was night.
In developing the luts, I utilized a modified version of my dye density simulating power grade to create a black-and-white image that was then tinted to be in the target range of my Nosferatu reference stills. The dye density model was targeting Kodak 5247 printed to 2383.
The goal wasn’t to be 1:1 but rather be something I could appreciate. So be mindful if you try out these luts on your footage… the finished look was built by me for me and I’m happy if you’d like try them out. Otherwise, feel free to contact me if you’d like a lot built or footage color explicitly graded for your project. All this to say is that this process and these luts may or may not work with your footage.


After creating the luts expect an input of DW/I and give back Rec.709. I brought them back into resolve, replacing the convoluted grade I had made and sandwiched aspects of film damage around them. The power grade that comes with the luts was made with only stock resolve film damage effects. On a personal level, I use a variety of other tools to get the look spot on , what I’m trying to do, whether that be a slight hue rotation or increased grain on the red channel.
The power grade is set up so that all three luts run through a layer mixer and have the ability to turn them on and off by clip or to fade them using key output and keyframing to create an in-clip transition from day to twilight to night.

The Simple Stock Resolve Tool Powergrade & Lut Tree
Node 1 is a CST putting the footage into Davinci Wide Gamut/Davinci Intermediate… this is what the luts expect, and they give back something in the vein of Rec.709 Gamma 2.4
Node 2 is an exposure adjustment made via the Gain Wheel. This node is set to Gamma Linear.
Film Grain is the start of doing the damage to make the footage look like it is from 1922
The 3 luts are set up as a layer mixer where the top track, although it is connected to the bottom, is the primary process via the logic of the layer mixer that works from bottom to top.
7 – 9 are a place to make adjustments to the hue
You can use color slice; I use Mononodes color shapers, saturation, and density adjustments here, which will change how faded the image looks as well
You can also use these nodes to deactivate and switch to a different look. By keyframing the key output, you can transition from daylight to twilight to night in the same shot.
Or simply disabling them will switch to the only one that is turned on
Node 10 is film damage, which adds some lens blur, dirt and scratches… set it up for your own personal preference
Node 11 is a Vignette Flicker to the image, adjusted to preference.
Enjoy The Content? Consider a Donation!
Life is free, but it costs to live in society. While I aim to provide extended content from my YT videos for free… it is always nice to get a cup of coffee or a nice scotch while paying for domain services and what not.